

In today’s digital age, mobile video recording has become ubiquitous. From capturing everyday moments to creating professional-grade content, our smartphones are powerful tools at our fingertips. However, harnessing their full potential for high-quality video requires more than just pointing and shooting. This article will provide valuable tips for better mobile video recording, empowering you to create compelling videos that truly stand out. Whether you’re a seasoned content creator or just starting out, these mobile video recording tips will significantly enhance your final product.
Mastering the art of mobile video recording involves understanding key aspects such as lighting, audio, composition, and stability. By implementing these tips, you can elevate your videos from amateur to professional, regardless of your phone model. Learn how to maximize your smartphone’s capabilities and unlock its potential to capture stunning footage. From pre-production planning to post-production editing considerations, we’ll cover the essential mobile video recording tips you need to create captivating and engaging content.
Lighting Is Everything
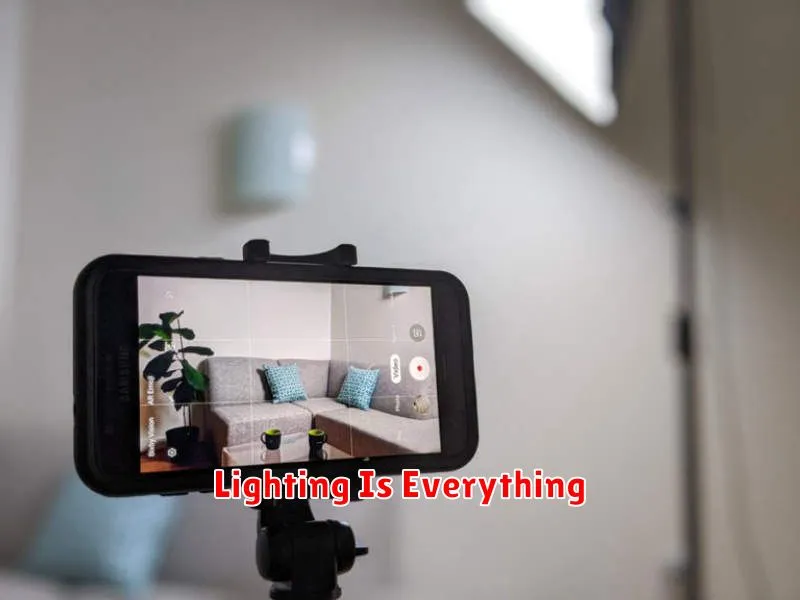
Good lighting is the foundation of a high-quality video. Poor lighting can ruin even the most compelling content, making it appear grainy, washed out, or overly dark.
Whenever possible, utilize natural light. Filming near a window during the day can provide beautiful, even illumination. Be mindful of the direction of the light. Positioning your subject facing the light source can create a flattering, well-lit scene. Avoid having the light source directly behind your subject, as this can result in silhouetting.
If natural light is insufficient, consider using artificial light sources. Small, portable LED lights can be a great investment for improving video quality. Experiment with different lighting setups to find what works best for your environment and the mood you want to convey.
Avoid using the built-in flash on your phone. It often produces harsh, unnatural light that can wash out colors and create unwanted shadows.
Use a Tripod or Stabilizer
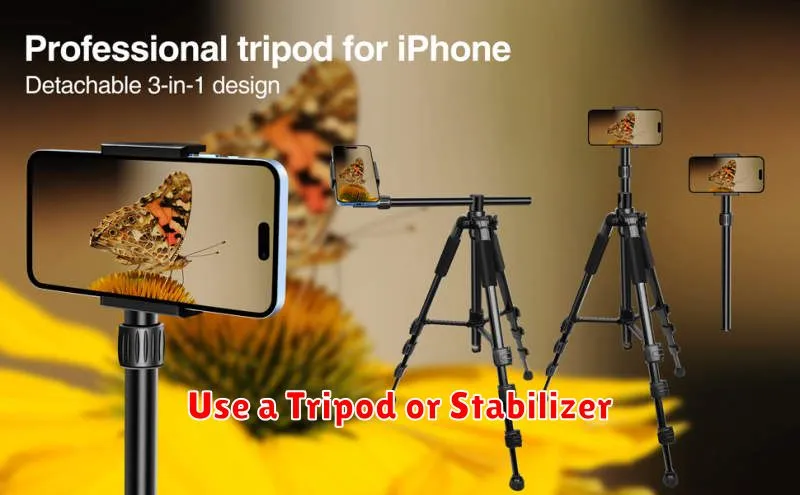
Shaky footage is a common problem in mobile video recording. Using a tripod or stabilizer can dramatically improve the quality of your videos by eliminating unwanted camera movement. A stable shot looks more professional and is more engaging for viewers.
Tripods provide a fixed and stable platform for your phone, ideal for static shots or controlled panning. They come in various sizes and configurations, allowing you to find one suitable for your needs. Stabilizers, such as gimbals, offer more flexibility for dynamic shots, allowing for smooth movement even while walking or moving around your subject. They actively compensate for shakes and vibrations, resulting in cinematic-looking footage.
Consider the type of video you are recording when choosing between a tripod and a stabilizer. For interviews, vlogs filmed in a stationary position, or time-lapses, a tripod is a great choice. If you need to move around while filming, such as when recording action sequences or following a subject, a stabilizer will be more beneficial.
Record in Landscape Mode
One of the most fundamental tips for improving your mobile video recordings is to hold your phone horizontally, also known as landscape mode. This prevents those annoying black bars on the sides of your video when viewed on larger screens like televisions or computer monitors.
Filming in landscape mode uses the fullest extent of your phone’s camera sensor, resulting in a wider, more cinematic shot. This is the standard format for videos and provides a more professional and immersive viewing experience for your audience.
Think about how you watch movies or television shows. They are almost always presented in landscape orientation. Adopting this same approach for your mobile recordings will ensure your videos look more polished and are easier to enjoy.
Enable Grid for Alignment
Aligning your shots properly is crucial for visually appealing mobile videos. One of the easiest ways to achieve this is by enabling the grid overlay on your camera app. Grid lines provide a visual reference, helping you adhere to the rule of thirds and maintain a level horizon.
Most mobile camera apps offer a grid option within their settings. Typically, you’ll find options for a 3×3 grid, which divides the screen into nine equal sections, or a 4×4 grid offering even more precise alignment. Experiment with different grid options to find what works best for your shooting style.
By using the grid, you can ensure your subject is positioned effectively within the frame, avoiding awkward cropping and creating a more balanced composition. The grid also assists in keeping your shots straight, preventing tilted horizons that can be distracting to viewers.
Check Frame Rate and Resolution
Before you start recording, take a moment to check your camera settings, specifically the frame rate and resolution. These two factors significantly impact the final quality of your video.
Resolution refers to the number of pixels that make up your video image. Higher resolutions (like 4K) result in sharper, more detailed videos. However, they also consume more storage space. If storage is a concern, 1080p (Full HD) is a good balance between quality and file size.
Frame rate is the number of frames captured per second (fps). Higher frame rates (like 60fps) create smoother motion, especially important for action shots. Standard video typically uses 30fps, which is generally suitable for most scenarios. If you intend to create slow-motion footage, opt for a higher frame rate during recording.
Use Manual Focus When Needed
While autofocus is convenient, it can sometimes struggle to lock onto your desired subject, especially in dynamic scenes or low-light conditions. Manual focus gives you complete control, ensuring your subject is always sharp.
Most mobile camera apps offer manual focus control. Typically, you tap the screen on the area you want to be in focus. Some apps even provide a focus slider for finer adjustments. Experiment with these controls to understand how they function on your device.
Consider using manual focus in situations where autofocus is unreliable, such as:
- Shooting through obstructions like fences or glass.
- Filming subjects that are moving quickly or erratically.
- Capturing close-up shots with a shallow depth of field.
By mastering manual focus, you can overcome autofocus limitations and achieve precise focus control for professional-looking mobile videos.
Edit Using Mobile Apps
Mobile video editing apps offer a convenient and powerful way to enhance your footage directly on your smartphone or tablet. These apps provide a range of tools, from basic trimming and color correction to more advanced features like adding music, text overlays, and transitions.
When choosing a mobile editing app, consider factors such as ease of use, available features, and compatibility with your device. Some popular options include apps with varying levels of complexity and functionality to cater to different skill levels.
Key editing techniques include trimming unnecessary footage, adjusting brightness and contrast for optimal visuals, and adding transitions to create smooth flow between clips. Experiment with different effects and filters to achieve your desired aesthetic, but avoid overusing them, which can detract from the overall quality.
Once you’re satisfied with your edits, most apps allow you to export your video in various resolutions and formats suitable for sharing on different platforms.